Hi there, food lover! 👋 Ready to explore a delightful taste of Japan with something simple, comforting, and absolutely satisfying? Today we’re making Easy Onigiri Rice Balls – Japanese Snack & Lunch Recipe, a beloved staple that has been enjoyed for generations across Japan.
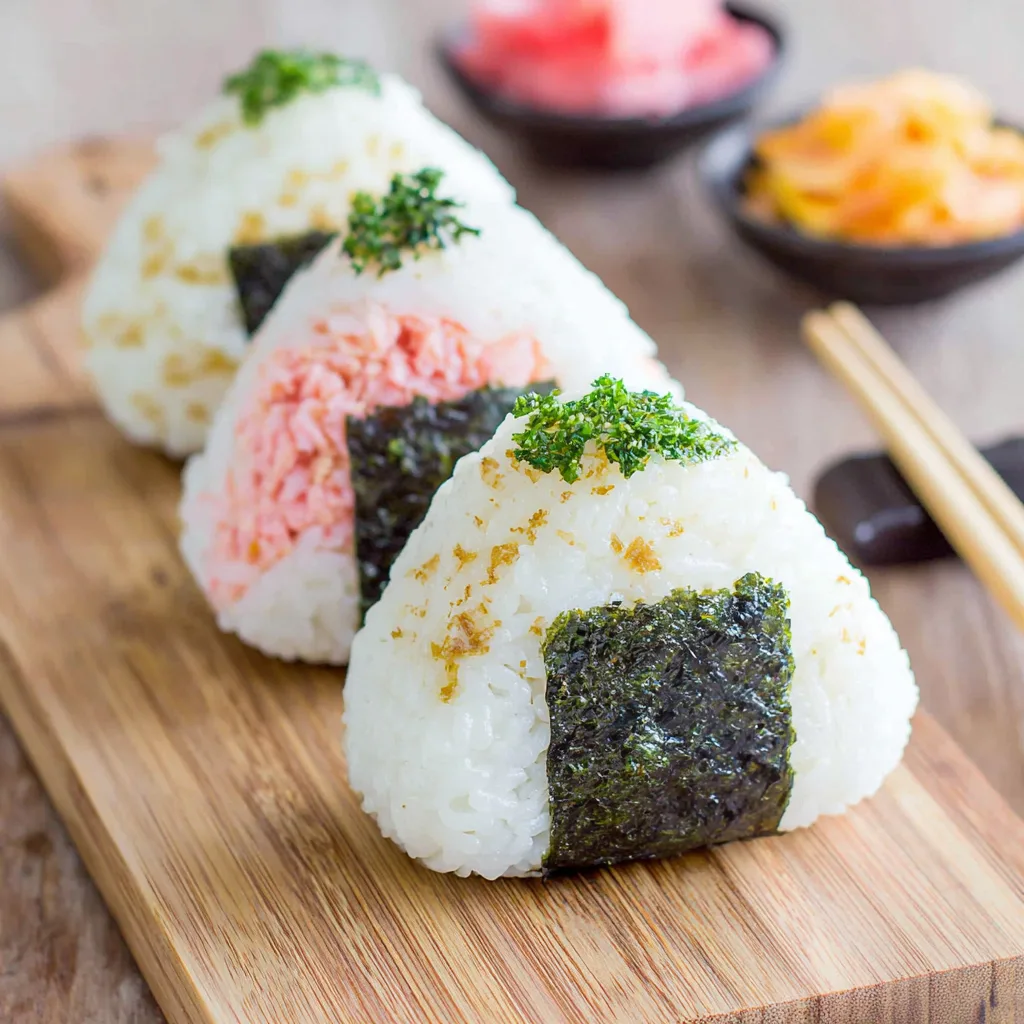
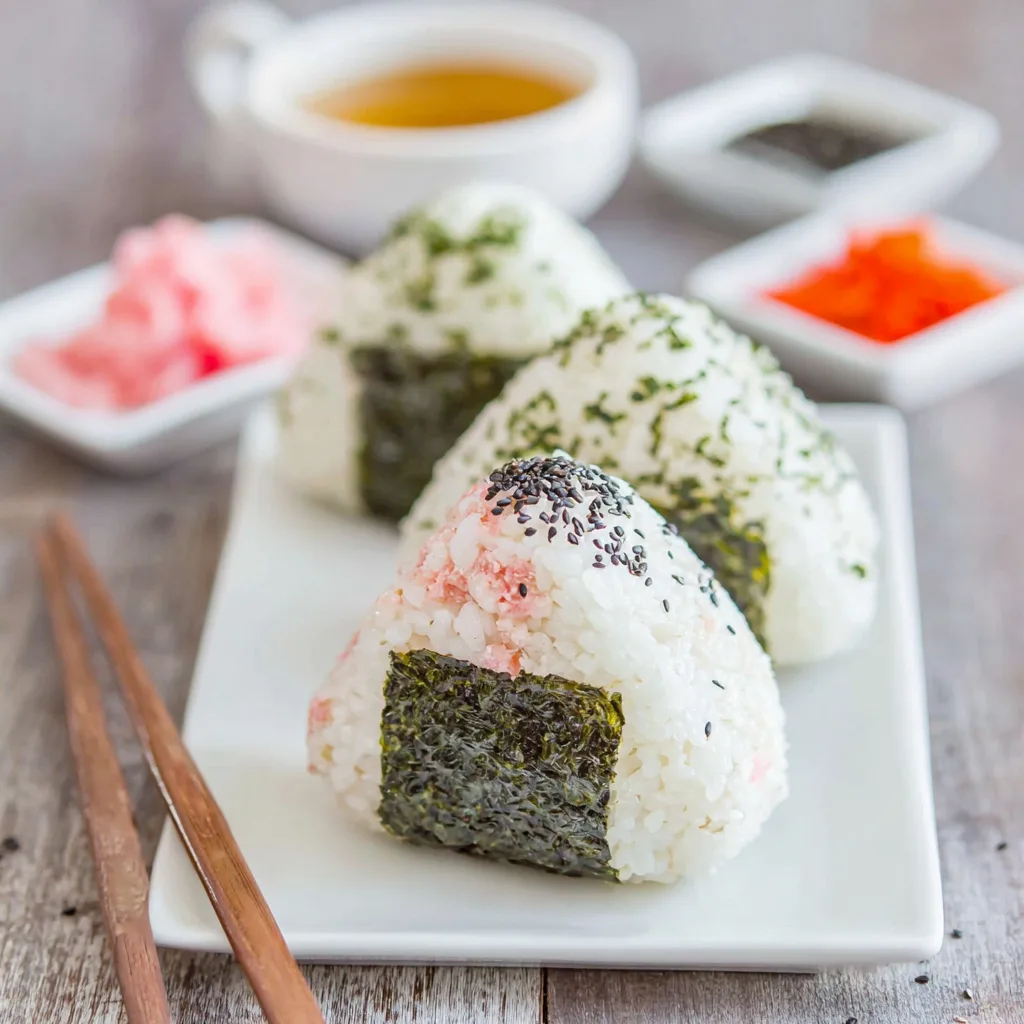
Onigiri, also known as Japanese rice balls, are humble yet incredibly versatile. Traditionally shaped by hand into triangles or rounds, these rice balls are often filled with savory ingredients and wrapped in crisp nori (seaweed). They’re a common sight in lunchboxes, convenience stores, and picnics—perfect for meals on the go or quick snacks at home.
What makes onigiri so special is its simplicity. With just a few basic ingredients—rice, salt, and fillings—you can create something deeply comforting and satisfying. Each bite offers soft, slightly sticky rice paired with flavorful fillings like tuna, pickled plum, or salmon. Whether you’re new to Japanese cuisine or simply looking for an easy, wholesome recipe, onigiri is a wonderful place to start. Let’s shape, fill, and enjoy this timeless treat together!
Ingredients:
For the Rice:
- 2 cups Japanese short-grain rice 🍚
- 2 1/2 cups water
- 1/2 teaspoon salt
For Filling Options:
- 1/2 cup canned tuna mixed with 1 tablespoon mayonnaise
- 1/4 cup cooked salmon, flaked 🐟
- 2 tablespoons pickled plum (umeboshi), mashed
- 1/4 cup cooked chicken, shredded
For Assembly:
- 4–6 sheets nori (seaweed), cut into strips
- Extra salt for seasoning hands
Easy Onigiri Rice Balls – Japanese Snack & Lunch Recipe
- Total Time: 30 minutes
- Yield: 6 rice balls 1x
Description
Easy Onigiri Rice Balls are a classic Japanese snack made with seasoned rice and savory fillings. Simple, portable, and delicious, they are perfect for lunchboxes, quick meals, or healthy snacks.
Ingredients
- 2 cups Japanese short-grain rice
- 2 1/2 cups water
- 1/2 teaspoon salt
- 1/2 cup canned tuna with mayonnaise
- 1/4 cup cooked salmon, flaked
- 2 tablespoons pickled plum (umeboshi)
- 1/4 cup cooked chicken, shredded
- 4–6 sheets nori, cut into strips
- Extra salt for seasoning hands
Instructions
1. Rinse rice until water runs clear.
2. Cook rice with water until tender and sticky.
3. Let rice rest for 5–10 minutes.
4. Wet hands and sprinkle with salt.
5. Take a handful of rice and flatten it.
6. Add filling in the center.
7. Fold rice over filling and shape into triangle or ball.
8. Repeat with remaining rice.
9. Wrap with nori strips.
10. Serve immediately or pack for later.
Notes
- Use short-grain rice for best texture.
- Keep hands moist while shaping.
- Avoid overfilling rice balls.
- Best enjoyed fresh.
- Toast for crispy variation.
- Try soy sauce grilled yaki onigiri.
- Use vegan fillings if preferred.
- Prep Time: 15 minutes
- Cook Time: 15 minutes
- Category: Snack
- Method: Hand-Shaped
- Cuisine: Japanese
Nutrition
- Serving Size: 1 rice ball
- Calories: 180
- Sugar: 1g
- Sodium: 200mg
- Fat: 3g
- Saturated Fat: 1g
- Unsaturated Fat: 2g
- Trans Fat: 0g
- Carbohydrates: 32g
- Fiber: 1g
- Protein: 5g
- Cholesterol: 15mg
Directions:
- Rinse the rice under cold water until the water runs clear. This removes excess starch and ensures the right texture.
- Combine the rinsed rice and water in a pot or rice cooker. Cook according to your preferred method until the rice is tender and slightly sticky.
- Once cooked, let the rice rest for about 5–10 minutes. This helps it firm up slightly for shaping.
- While the rice is still warm, lightly wet your hands with water and sprinkle a pinch of salt onto your palms.
- Take a handful of rice (about 1/3 cup) and gently flatten it in your palm.
- Place a small amount of your chosen filling in the center of the rice.
- Carefully fold the rice over the filling and shape it into a triangle, ball, or oval by pressing gently with your hands.
- Repeat the process with the remaining rice and fillings.
- Wrap each rice ball with a strip of nori for easy handling and extra flavor.
- Serve immediately while fresh, or pack into a lunchbox for later enjoyment.
- If storing, keep them covered with a damp cloth to prevent drying out.
- Enjoy these delicious rice balls as a snack, light meal, or side dish!
Notes:
- Use short-grain Japanese rice for the best sticky texture—other rice types may not hold shape well.
- Keep your hands moist to prevent the rice from sticking while shaping.
- Don’t overfill, as it may cause the rice ball to break apart.
- Onigiri are best eaten fresh but can be stored for a few hours at room temperature.
- For added flavor, lightly toast the onigiri in a pan for a crispy exterior.
- You can brush them with soy sauce and grill for a variation called yaki onigiri.
- Vegan fillings like avocado or seasoned vegetables work beautifully.
- Customize shapes and fillings to suit your taste!
Nutritional Information:
- ⏰ Prep Time: 15 minutes | 🔥 Baking Time: 15 minutes | ⏳ Total Time: 30 minutes
- ⚡ Calories per serving: ~180 kcal per rice ball | 🍽️ Servings: 6 rice balls
Onigiri are a balanced and energy-boosting snack, providing carbohydrates from rice and optional protein from fillings like tuna or salmon. They are relatively low in fat and can be customized to fit various dietary preferences. Adding seaweed also contributes essential minerals, making this a wholesome and nourishing choice.
#onigiri #japaneserecipe #ricerecipes #healthysnack #lunchideas #homemadefood #simplecooking #foodlover
Bon appétit and happy cooking!
You might also like these recipes
Lemon Cheesecake Cottage Cheese Mousse Recipe for Creamy Protein Treats
Cottage Cheese Pumpkin Pie Cups Recipe for Easy Healthy Fall Desserts
Raspberry Swirl Cottage Cheese Cheesecake Recipe for Viral High-Protein Sweets