Hi there, food lover! 👋 Ready to step back in time and bake something truly special for the ones you love? There’s something undeniably charming about vintage-inspired desserts—the delicate piping, the pastel buttercream, the sweet sentimental touches that feel straight out of a 1950s bakery window. A retro buttercream heart cake isn’t just dessert; it’s a centerpiece, a love letter written in sugar and flour.
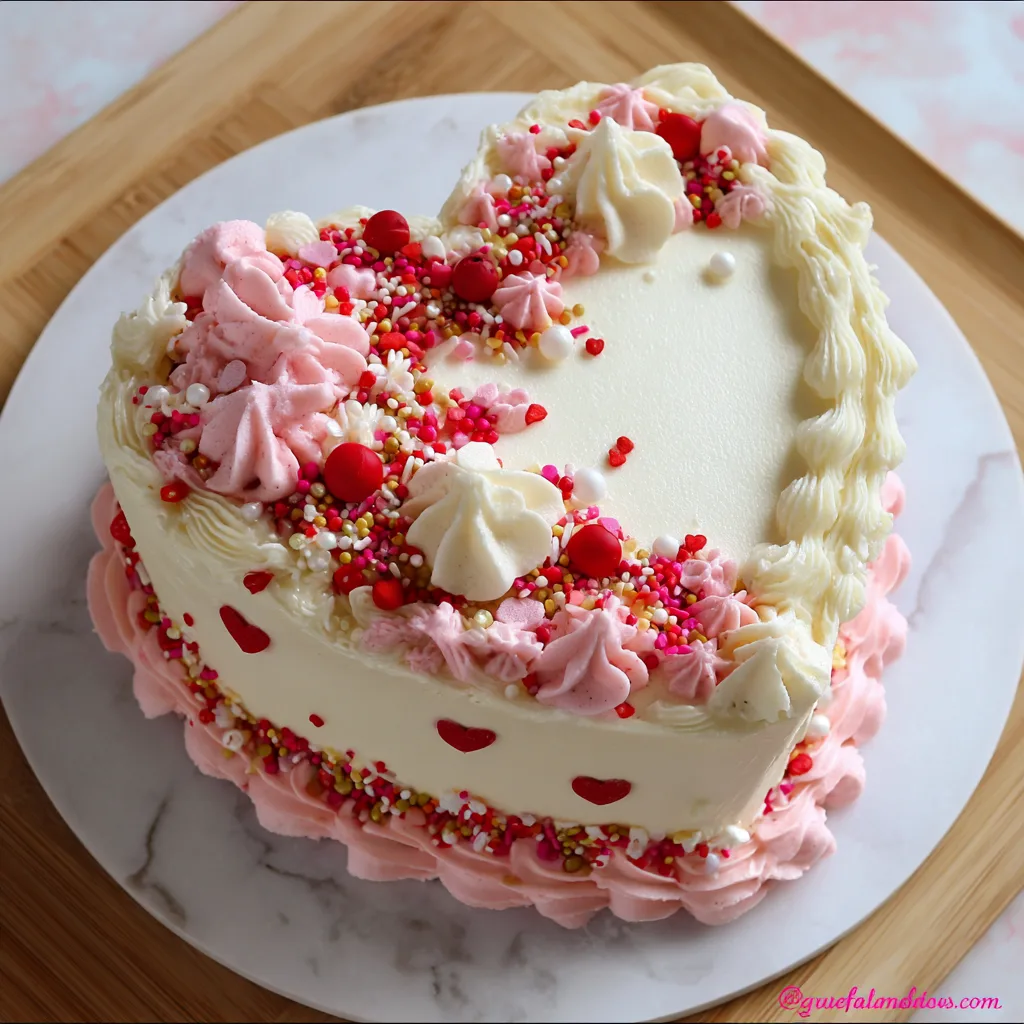
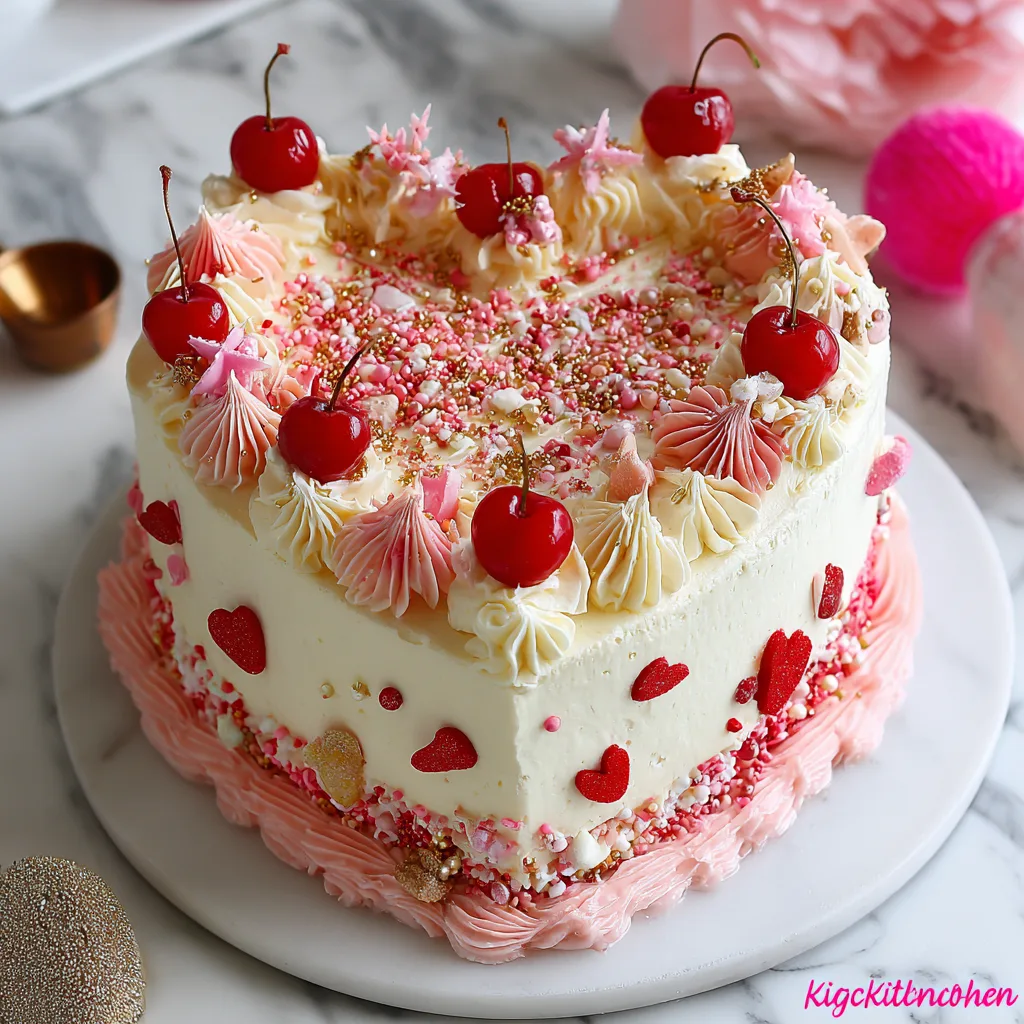
This Vintage Valentine’s Day Celebration Cake brings back the elegance of old-fashioned romance. Think soft, tender layers of vanilla cake, filled with luscious buttercream, and decorated with intricate shell borders, rosettes, and dainty piping in dreamy pinks and creamy whites. Whether you’re planning a romantic dinner, a Galentine’s gathering, or a nostalgic dessert table, this cake is guaranteed to steal hearts.
The beauty of this recipe lies in its simplicity and tradition. No shortcuts—just wholesome ingredients, careful mixing, and classic decorating techniques passed down through generations. So tie on your apron, preheat that oven, and let’s create a sweet memory together.
Table of Contents
Table of Contents
Ingredients for Vintage Valentine’s Day Celebration Cake
For the Vanilla Butter Cake Layers:
- 3 cups (360g) all-purpose flour
- 2½ teaspoons baking powder
- ½ teaspoon baking soda
- ½ teaspoon salt
- 1 cup (225g) unsalted butter, softened
- 2 cups (400g) granulated sugar
- 4 large eggs, room temperature
- 1 tablespoon pure vanilla extract
- 1 cup (240ml) whole milk, room temperature
- ½ cup (120ml) sour cream
For the Classic American Buttercream:
- 1½ cups (340g) unsalted butter, softened
- 5–6 cups (600–720g) powdered sugar, sifted
- 2 teaspoons vanilla extract
- 2–4 tablespoons heavy cream or milk
- Pinch of salt
- Pink and red gel food coloring
Optional Decorations:
- Maraschino cherries 🍒
- Edible pearls
- Valentine sprinkles
- Piping bags with star and round tips

Vintage Valentine’s Day Celebration Cake – Retro Buttercream Heart Cake for Romantic Dessert Tables
- Total Time: 1 hour 30 minutes
- Yield: 12 slices 1x
- Diet: Vegetarian
Description
This Vintage Valentine’s Day Celebration Cake is a retro buttercream heart cake featuring tender vanilla layers and classic American buttercream decorated with charming vintage piping. Perfect for romantic celebrations and nostalgic dessert tables.
Ingredients
- 3 cups (360g) all-purpose flour
- 2½ teaspoons baking powder
- ½ teaspoon baking soda
- ½ teaspoon salt
- 1 cup (225g) unsalted butter, softened
- 2 cups (400g) granulated sugar
- 4 large eggs, room temperature
- 1 tablespoon pure vanilla extract
- 1 cup (240ml) whole milk, room temperature
- ½ cup (120ml) sour cream
- 1½ cups (340g) unsalted butter, softened (for buttercream)
- 5–6 cups (600–720g) powdered sugar, sifted
- 2 teaspoons vanilla extract (for buttercream)
- 2–4 tablespoons heavy cream or milk
- Pinch of salt
- Pink and red gel food coloring
- Maraschino cherries (optional)
- Edible pearls (optional)
- Valentine sprinkles (optional)
Instructions
- Preheat oven to 350°F (175°C) and grease two 8-inch heart-shaped cake pans.
- Whisk flour, baking powder, baking soda, and salt in a bowl.
- Beat butter and sugar until light and fluffy, about 3–4 minutes.
- Add eggs one at a time, then mix in vanilla.
- Alternate adding dry ingredients with milk and sour cream, mixing just until combined.
- Divide batter evenly into pans and bake 28–32 minutes until a toothpick comes out clean.
- Cool in pans 10 minutes, then transfer to a wire rack to cool completely.
- Beat butter for buttercream until smooth, then gradually add powdered sugar.
- Mix in vanilla, salt, and cream until fluffy and spreadable.
- Place one cake layer on serving board and spread buttercream on top.
- Add second layer and apply thin crumb coat; chill 20–30 minutes.
- Frost with final layer of buttercream and decorate with vintage piping.
- Chill briefly before slicing and serving.
Notes
- If you don’t have heart-shaped pans, bake in round pans and trim into a heart shape.
- For strawberry flavor, substitute ½ cup milk with strawberry puree.
- Cake layers can be baked one day ahead and wrapped tightly.
- Allow cake to sit at room temperature 30 minutes before serving for best texture.
- Prep Time: 40 minutes
- Cook Time: 30 minutes
- Category: Dessert
- Method: Baked
- Cuisine: American
Nutrition
- Serving Size: 1 slice
- Calories: 520
- Sugar: 52g
- Sodium: 260mg
- Fat: 28g
- Saturated Fat: 17g
- Unsaturated Fat: 9g
- Trans Fat: 0g
- Carbohydrates: 65g
- Fiber: 1g
- Protein: 5g
- Cholesterol: 115mg
Step-by-Step Directions for Vintage Valentine’s Day Celebration Cake – Retro Buttercream Heart Cake
Step 1: Prepare Your Pans
Preheat your oven to 350°F (175°C). Grease and line two 8-inch heart-shaped cake pans. If you don’t have heart pans, you can use round pans and trim them into a heart shape once cooled.
Step 2: Mix the Dry Ingredients
In a medium bowl, whisk together flour, baking powder, baking soda, and salt. Set aside.
Step 3: Cream the Butter and Sugar
In a large mixing bowl, beat the softened butter and sugar until light and fluffy—about 3–4 minutes. This step creates the tender crumb that gives vintage cakes their delicate texture.
Step 4: Add Eggs and Vanilla
Beat in the eggs one at a time, mixing well after each addition. Stir in the vanilla extract.
Step 5: Combine Wet and Dry
Add the dry ingredients in three parts, alternating with milk and sour cream. Begin and end with the dry ingredients. Mix just until combined—avoid overmixing to keep the cake soft.
Step 6: Bake
Divide batter evenly between pans. Smooth the tops and bake for 28–32 minutes, or until a toothpick inserted into the center comes out clean. Cool in pans for 10 minutes before transferring to a wire rack to cool completely.
Step 7: Prepare the Buttercream
Beat the butter until creamy and smooth. Gradually add powdered sugar, one cup at a time. Mix in vanilla and salt. Add cream a tablespoon at a time until fluffy and spreadable. Divide and tint portions pink and red as desired.
Step 8: Assemble the Cake
Place one cake layer on a serving board. Spread an even layer of buttercream on top. Gently place the second layer over it.
Step 9: Crumb Coat
Apply a thin layer of buttercream around the cake to trap crumbs. Chill for 20–30 minutes.
Step 10: Final Frosting
Spread a thicker, smooth layer of buttercream over the entire cake. Use an offset spatula for clean edges.
Step 11: Vintage Piping Decoration
Here’s where the magic happens! 🎀
- Pipe shell borders along the edges using a star tip.
- Add rosettes and ruffles around the top.
- Write a sweet message like “Be Mine” or “Love You” using a round tip.
- Finish with cherries, pearls, or sprinkles for that retro bakery flair.
Let your creativity shine—vintage cakes celebrate charm over perfection.
Step 12: Chill and Serve
Refrigerate for 20–30 minutes to set the buttercream before serving. Slice gently with a warm knife for clean edges.
Notes for 🎂🌸 Vintage Valentine’s Day Celebration Cake – Retro Buttercream Heart Cake
- For a strawberry twist, substitute ½ cup of milk with strawberry puree. 🍓
- If you prefer a lighter frosting, try Swiss meringue buttercream.
- Make the cake layers one day ahead and wrap tightly for easier decorating.
- Keep the cake refrigerated but allow it to sit at room temperature for 30 minutes before serving for best flavor and texture.
Nutritional Information for Vintage Valentine’s Day Celebration Cake – Retro Buttercream Heart Cake
⏰ Prep Time: 40 minutes
🔥 Baking Time: 30 minutes
⏳ Total Time: 1 hour 30 minutes
⚡ Calories per serving: Approximately 520
🍽️ Servings: 12 slices
(Values are estimates and may vary depending on ingredients used.)
#VintageValentinesCake #RetroButtercream #HeartShapedCake #ValentinesDessert #RomanticBaking #ClassicButtercream #OldFashionedCharm
Bon appétit and happy cooking!
You might also like these recipes
Sweet Treats
Italian Love Cake Cupcakes – Mini Valentine’s Day Party Desserts with Ricotta and Chocolate
Sweet Treats
Vintage Valentine’s Day Celebration Cake – Retro Buttercream Heart Cake for Romantic Dessert Tables
Healthy & Fresh
Comforting Chicken Mushroom Soup | Clean Eating Healthy Dinner