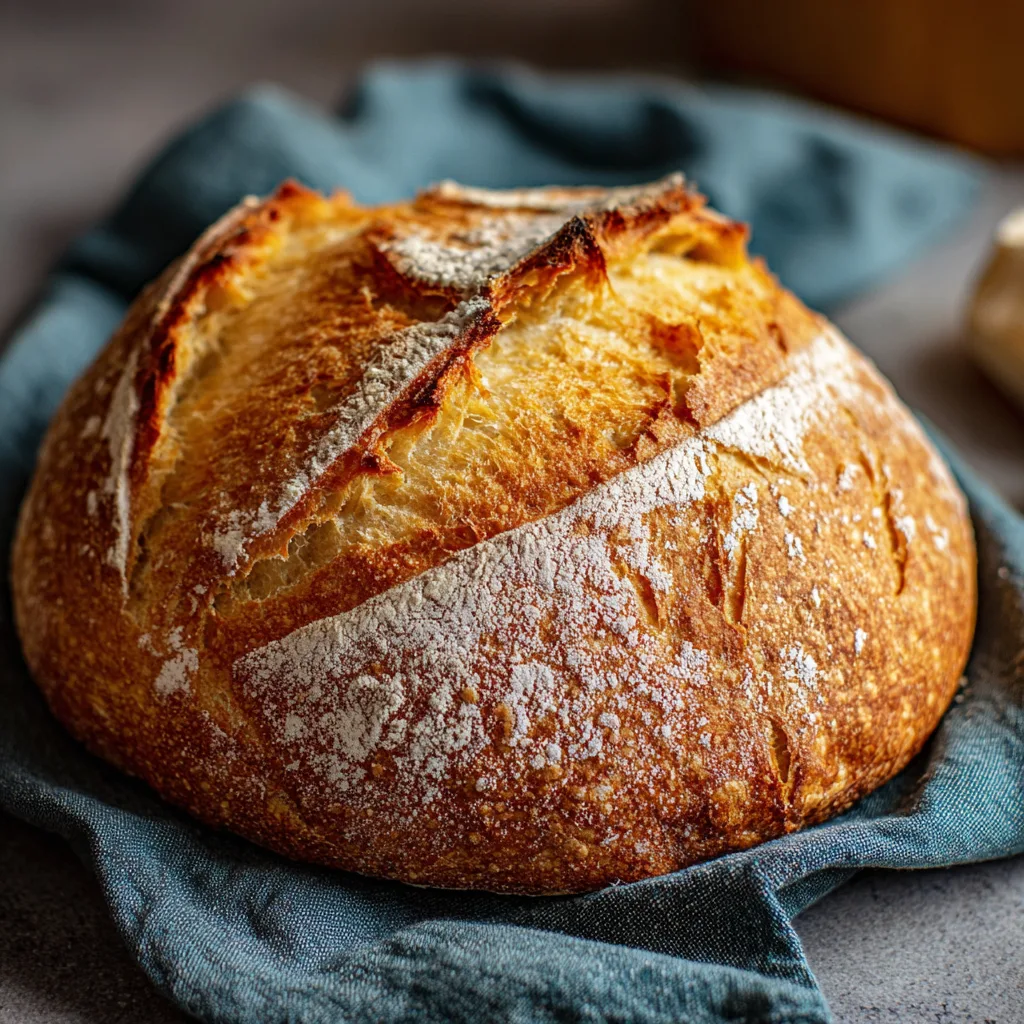
Hi there, food lover! 👋 Ready to fill your home with the warm, comforting aroma of freshly baked bread? There’s nothing quite like the magic of a golden, crusty loaf right out of the oven — especially when it’s made with your own hands. 🍞✨ Today, we’re diving into a timeless classic: Crusty Dutch Oven No Knead Bread. This rustic recipe has been cherished across generations, passed down by home bakers who knew that simplicity and patience yield the best results.
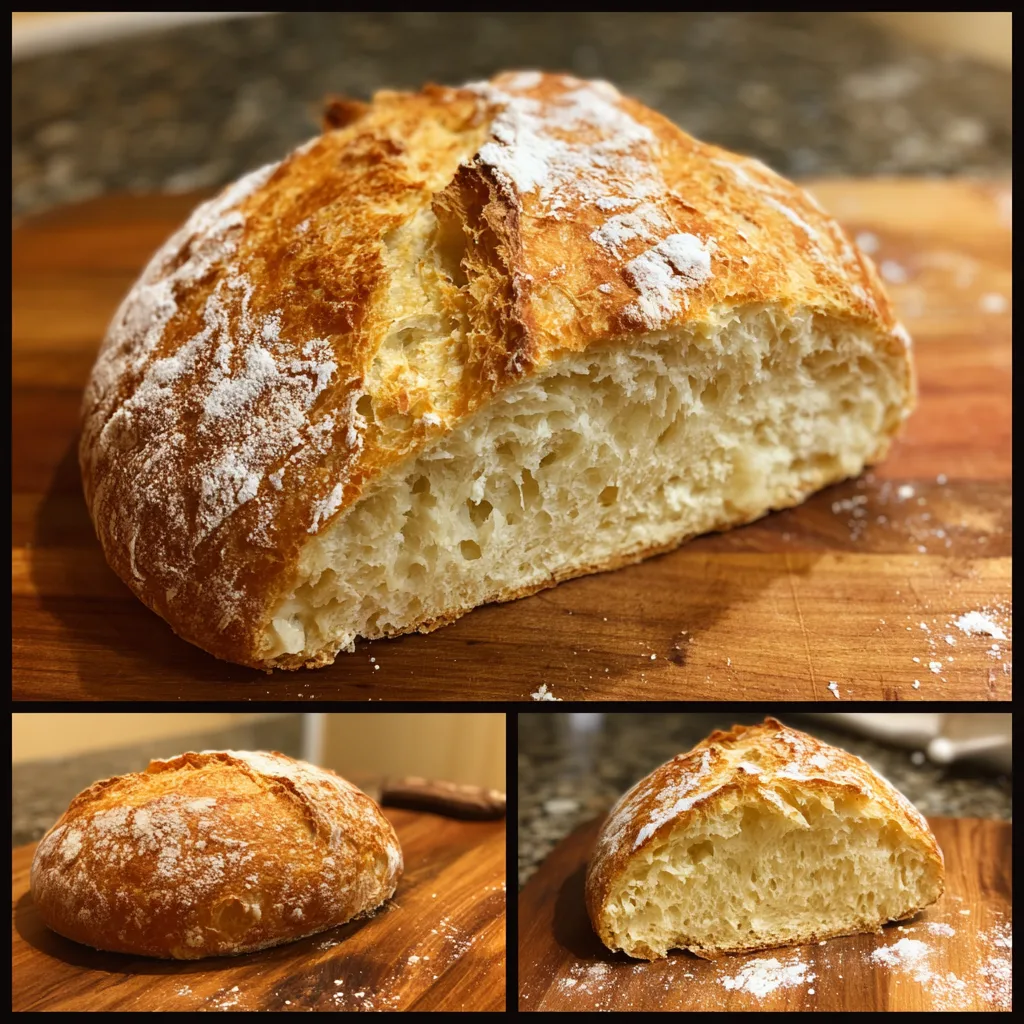
Imagine a loaf with a deep, golden crust that crackles as you slice it, revealing a soft, airy interior — the kind that’s perfect for slathering with butter, dipping into soups, or simply savoring on its own. 🥖💛 With only four humble ingredients and almost no effort, you can create bakery-quality bread right in your own kitchen. This no-knead method, made famous by artisan bakers, relies on time rather than muscle to develop incredible flavor and texture.
So tie on your apron, grab your Dutch oven, and prepare to witness a little kitchen alchemy. Your house is about to smell amazing! 🌾🔥
🥣 Ingredients
For the Dough:
- 3 cups (375g) all-purpose or bread flour
- 1 ½ teaspoons salt
- ½ teaspoon instant yeast
- 1 ½ cups (360ml) warm water (around 105°F / 40°C)
For Dusting & Baking:
- Extra flour, for dusting
- Cornmeal or parchment paper (optional)
👩🍳 Step-by-Step Directions
- Mix the Dough
In a large bowl, combine the flour, salt, and yeast. Stir to mix. Add warm water and stir with a wooden spoon or spatula until you get a sticky, shaggy dough. It will look messy — and that’s exactly right! - First Rise (Overnight Magic)
Cover the bowl tightly with plastic wrap or a damp towel and let it rest at room temperature for 12 to 18 hours. ⏰ This slow fermentation develops deep, nutty flavor and gives the bread its signature airy crumb. - Shape the Dough
Once the dough has doubled in size and is dotted with bubbles, lightly flour your hands and work surface. Turn out the dough gently, folding it over on itself a few times to form a rough ball. Don’t knead! Cover and let it rest for 15 minutes. - Second Rise
Place the dough on a piece of parchment paper, seam side down. Lightly dust with flour or cornmeal and cover again. Let it rise for another 1 to 2 hours, until puffy. - Preheat the Oven & Dutch Oven
About 30 minutes before baking, preheat your oven to 450°F (230°C). Place your Dutch oven (with lid) inside to preheat as well — this ensures that perfect steam for a crackly crust! - Bake the Bread
When ready, carefully remove the hot Dutch oven. Lift your dough (using the parchment paper) and place it into the pot. Cover with the lid and bake for 30 minutes. - Uncover & Crisp
Remove the lid and bake for an additional 10–15 minutes, until the crust is a deep, rich golden brown. The sound of the crust crackling is pure joy! - Cool Before Slicing
Transfer the bread to a wire rack and let it cool for at least 30 minutes before slicing. This helps the inside finish setting and keeps it soft and chewy.
Enjoy your masterpiece — crispy outside, soft inside, and full of old-world charm. 🍞💫
🍽️ Nutritional Information
⏰ Prep Time: 15 minutes (plus 12–18 hours resting)
🔥 Baking Time: 40–45 minutes
⏳ Total Time: About 13–19 hours
⚡ Calories per serving: 160
🍽️ Servings: 10 slices
Estimated per serving:
- Calories: 160
- Carbohydrates: 32g
- Protein: 5g
- Fat: 1g
- Fiber: 1.5g
- Sodium: 280mg
#homemadebread #dutchovenbread #nokneadbread #traditionalbaking #comfortfood #breadlover #bakeryathome #easyrecipes #goldencrust #simpleingredients
Bon appétit and happy cooking! 👩🍳🍽️
You might also like these recipes
Quick & Easy Meals
Creamy Asiago Chicken – Quick and Easy Dinner Recipe
Quick & Easy Meals
Garlic Butter Steak with Parmesan Cream Sauce – Restaurant Style Dinner
Quick & Easy Meals
Creamy Garlic Parmesan Chicken with Crispy Potatoes (Easy Dinner Idea)