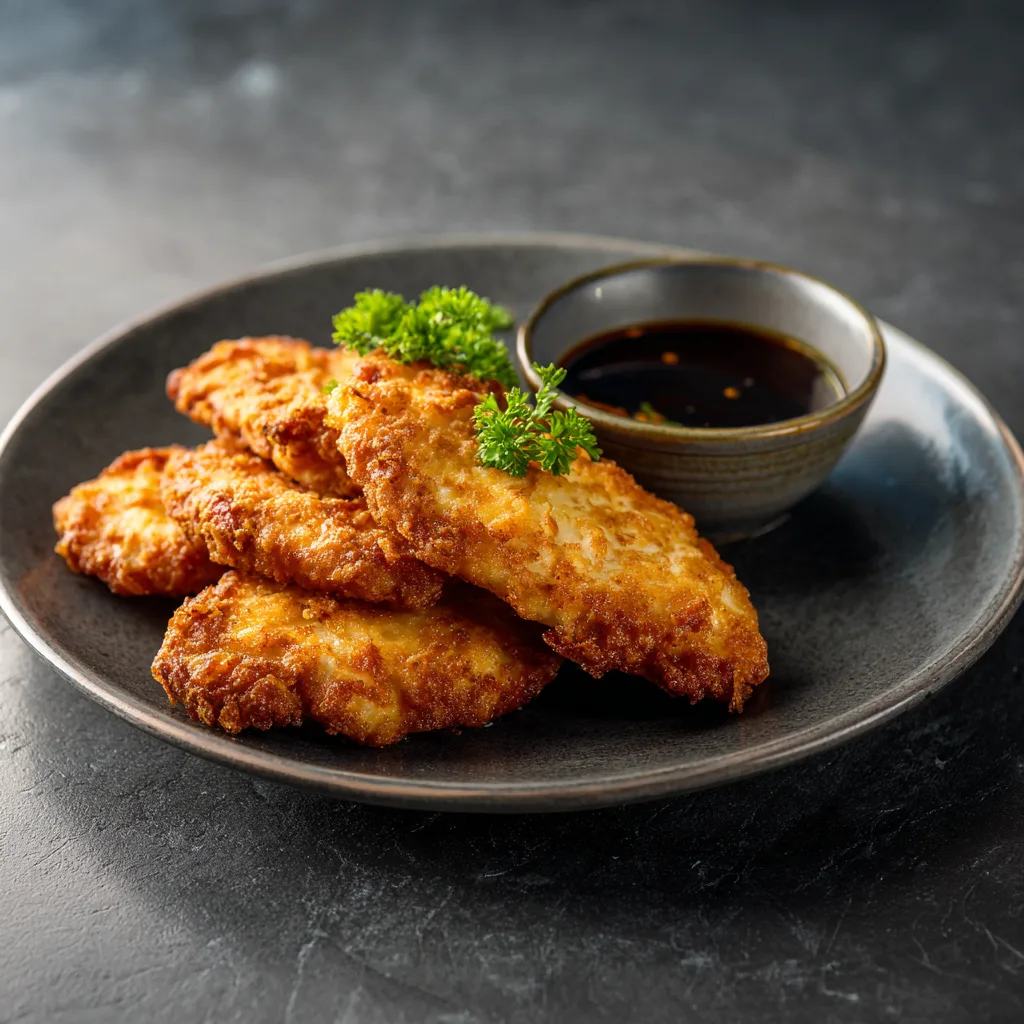
Fried chicken breast recipe lovers know the struggle—crispy on the outside, but somehow still dry in the middle? Not anymore. In this ultimate guide, we’ll walk you through exactly how to get that golden-brown crunch while keeping every bite juicy and flavorful. From choosing the right cut to mastering oil temperature, this isn’t just another recipe—it’s a solution to your crispy chicken cravings.
We’ll cover the best seasoning methods, pan-frying vs. deep-frying, oil options, how long to fry chicken breast based on thickness, and juicy tips most home cooks miss. Whether you’re a beginner or just tired of dry chicken, this post has you covered.
Table of Contents
Table of Contents
Why I Switched to This Fried Chicken Breast Recipe
The Crispy Chicken Breast That Changed Everything
I still remember the night I gave up on dry, boring chicken breast for good. It was a chilly Minnesota evening, and I was craving something warm, crunchy, and soul-satisfying. I had some boneless skinless breasts in the fridge and not much else—so I decided to wing it (pun intended). After a few tweaks and trial runs, this fried chicken breast recipe became a weeknight favorite, and honestly, a bit of a game-changer in my kitchen.
You see, I grew up in a house where fried chicken meant special occasions, but it always started with thighs. And while I love a good crispy chicken thigh, there’s something incredibly satisfying about getting that same flavor-packed crunch with leaner, quicker-cooking chicken breasts.
What makes this fried chicken breast recipe so special? It’s not just about the golden coating (though that’s a big part). It’s about the juiciness that stays locked inside thanks to the right prep and a few essential frying tips I’ll share with you below. This is comfort food you can make any night of the week—no deep fryer required.
And if you’re into comfort meals that hit just right after a long day, don’t miss my comforting chicken and rice casserole—another reader favorite that’s simple and deeply satisfying.
This recipe isn’t just about technique; it’s about fixing the #1 complaint with chicken breast: dryness. We’ll fix that—crispy edges, juicy centers, and no more guessing.
Print
Fried Chicken Breast Recipe That Will Make You Crave Every Bite
- Total Time: 30 minutes
- Yield: 2 servings 1x
Description
This crispy fried chicken breast recipe delivers juicy, golden perfection every time. With pantry ingredients and simple steps, you’ll make restaurant-quality fried chicken at home—no deep fryer needed.
Ingredients
- 2 boneless, skinless chicken breasts
- 1 cup buttermilk (or milk)
- 1 cup all-purpose flour
- ¼ cup cornstarch
- 2 large eggs
- 1 tsp salt
- ½ tsp black pepper
- 1 tsp garlic powder
- 1 tsp smoked paprika
- ¼ tsp cayenne pepper (optional)
- Oil for frying (canola, vegetable, or peanut)
Instructions
- Pound chicken breasts to even ½-inch thickness.
- In a shallow bowl, whisk eggs and buttermilk together.
- In a second bowl, mix flour, cornstarch, and all seasonings.
- Dip chicken first in dry flour mix, then in egg mixture, then again in flour.
- Let coated chicken rest on a rack for 10–15 minutes.
- Heat ½ inch of oil in a heavy skillet to 350–365°F.
- Fry chicken breasts 3–5 minutes per side, until golden brown and internal temp reaches 165°F.
- Transfer to a rack to cool and crisp for 5 minutes before serving.
Notes
- For extra juiciness, dry-brine your chicken with salt for 30 minutes before breading.
- Use a thermometer to maintain oil temperature for consistent frying.
- Letting the coated chicken rest before frying helps the crust stay on.
- Prep Time: 15 minutes
- Cook Time: 15 minutes
- Category: Dinner
- Method: Pan Frying
- Cuisine: American
Nutrition
- Serving Size: 1 chicken breast
- Calories: 430
- Sugar: 1g
- Sodium: 700mg
- Fat: 18g
- Saturated Fat: 4g
- Unsaturated Fat: 12g
- Trans Fat: 0g
- Carbohydrates: 28g
- Fiber: 1g
- Protein: 38g
- Cholesterol: 180mg
Ingredients & Prep Breakdown
What You Need for the Best Fried Chicken Breast Recipe
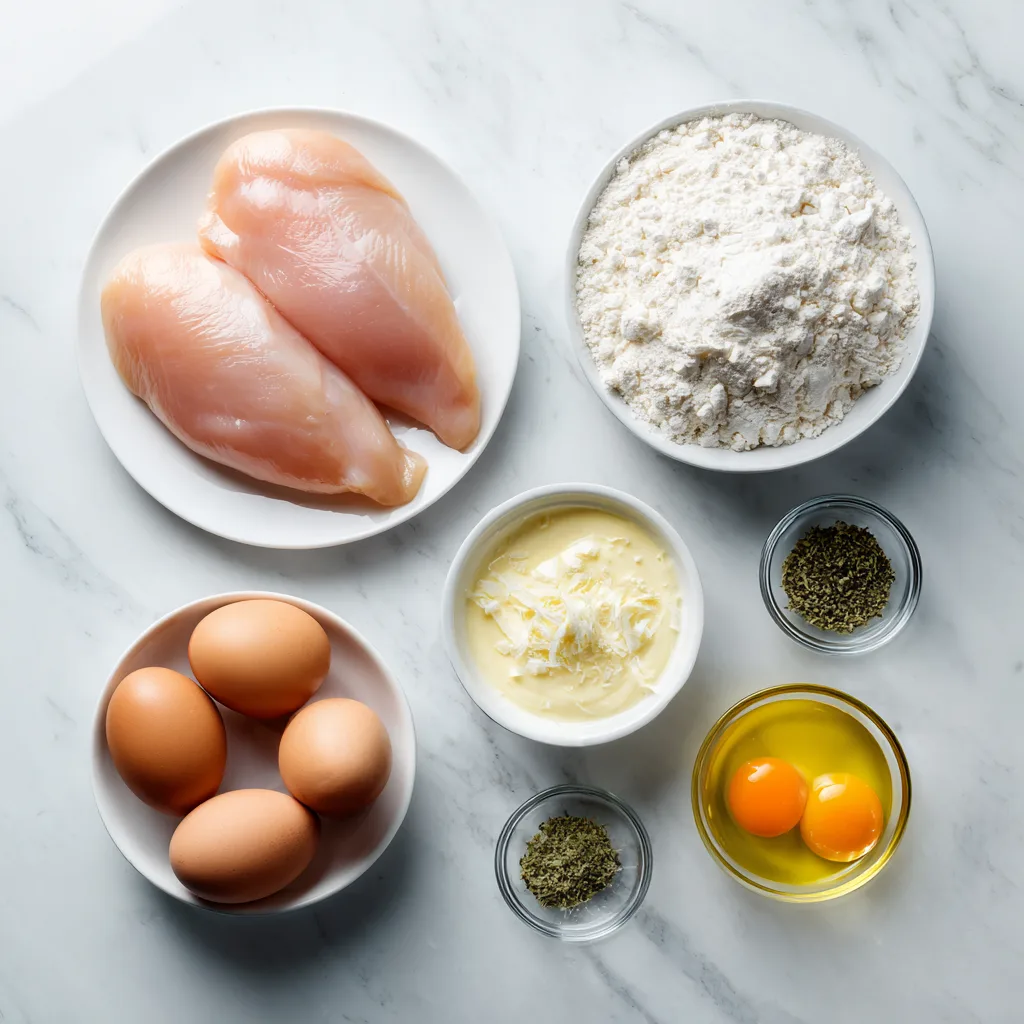
Every solid fried chicken breast recipe starts with the right basics. You don’t need fancy tools or ingredients—just a smart combination of pantry staples that work hard for flavor and texture.
Here’s what you’ll need:
- Boneless, skinless chicken breasts – pounded evenly for quick, even frying
- Flour – all-purpose works best as the crispy outer layer
- Cornstarch – a secret weapon for light, shatteringly crisp crust
- Eggs – helps bind the coating to the chicken
- Buttermilk or milk – adds tenderness and tang
- Seasoning blend – think garlic powder, paprika, salt, pepper, and a pinch of cayenne
- Neutral oil for frying – like canola, vegetable, or peanut oil
Want to turn the volume up on flavor? Marinate the chicken in buttermilk for 1–4 hours. It tenderizes and seasons from the inside out—a tip borrowed from our crispy fried chicken tenders that gets rave reviews.
How to Prep Chicken for Maximum Juiciness
Start by slicing large breasts in half lengthwise to make cutlets. Then, pound each piece to an even thickness—about ½ inch. This ensures even cooking and prevents the dreaded dry-out.
Next, set up your breading station:
- A dish of seasoned flour + cornstarch
- A bowl of beaten eggs + splash of milk
- A second dish of flour for double-dipping
Dip, coat, repeat. The double-dip method creates that signature crackly crust seen in your favorite air fryer chicken recipes.
Once coated, let the chicken rest on a rack for 10–15 minutes before frying. This helps the coating stick beautifully in the pan.
Frying Technique & Oil Know-How
Picking the Right Pan and Oil for Perfect Frying
To master a fried chicken breast recipe, you’ve got to start with the right pan and oil combo. It’s the foundation for that signature crispy crust.
Choose a heavy-bottomed skillet, like cast iron or stainless steel. These hold heat evenly and avoid hot spots that cause burning. A 10–12 inch pan gives plenty of space to avoid overcrowding—a rookie mistake that leads to soggy chicken.
Now, let’s talk oil. You need one with a high smoke point, such as:
- Canola oil
- Vegetable oil
- Peanut oil
Each one stays stable at high heat and doesn’t overpower your seasoning blend. Avoid olive oil—it burns too fast and turns bitter.
Fill your pan with ½ to ¾ inch of oil. We’re going for shallow frying, not deep frying. It’s easier, uses less oil, and delivers just as much crunch.
How Hot Is Hot Enough?
Here’s where most home cooks slip up: the oil temperature. For your fried chicken breast recipe to truly shine, your oil should be between 350°F and 365°F. Any cooler, and your breading gets greasy. Any hotter, and the crust browns too fast before the inside cooks.
Don’t guess. Use a meat thermometer or clip-on frying thermometer to keep it steady. As you fry, watch the bubbles—steady sizzle is what you want. Violent bubbling? Too hot. No sizzle? Not hot enough.
Cook each chicken breast for 3–5 minutes per side, depending on thickness. Flip only once to prevent breaking the crust. Aim for an internal temp of 165°F, and you’re golden.
Want that ultra-crispy exterior like in our crispy chicken mozzarella wraps? Don’t skip the post-fry rest. Place the cooked chicken on a wire rack—not paper towels—so it stays crisp and doesn’t steam underneath.
Cooking Times by Thickness
Mastering Timing in Any Fried Chicken Breast Recipe
If there’s one secret to a perfect fried chicken breast recipe, it’s knowing your timing. Overcook it, and you’re chewing through cardboard. Undercook it? You’re taking a risk. But when you hit that sweet spot? It’s juicy, crispy, and downright addictive.
Chicken breasts vary a lot in thickness, so cooking time isn’t one-size-fits-all. Here’s a handy rule: the thinner the cut, the faster it cooks. That’s why pounding your chicken to even thickness (about ½ inch) is such a game-changer.
Use a meat thermometer to verify doneness at 165°F in the thickest part. Trust that tool—it’s way more reliable than guessing by color.
Here’s a breakdown to help you stay in control:
| Chicken Thickness | Frying Time (Each Side) | Total Cook Time |
|---|---|---|
| ½ inch (cutlet, pounded) | 3 minutes | 6 minutes |
| ¾ inch (natural breast, not pounded) | 4–5 minutes | 8–10 minutes |
| 1 inch or thicker | 5–6 minutes | 10–12 minutes |
When in Doubt, Check the Middle
Even seasoned cooks rely on tools. A quick-read digital thermometer takes all the stress out of this fried chicken breast recipe. And once you master timing, you’ll be able to confidently serve up plates of golden, juicy chicken every time.
For more juicy options that don’t sacrifice crispiness, check out our easy brown sugar soy chicken thighs—sweet, savory, and done in under 30 minutes.
And if you’re craving something crispy without frying, our air fryer parmesan chicken hits the spot with zero mess.
Tips to Lock in Juiciness
The Secret Sauce of Any Fried Chicken Breast Recipe
Juiciness makes or breaks any fried chicken breast recipe. You can have a golden crust, perfect seasoning, and still lose the game if the meat turns out dry. But don’t worry—there are a few smart tricks that almost guarantee a juicy inside, no matter your skill level.
First up: brining.
If you have time, a quick saltwater brine (15–30 minutes) works wonders. It helps the meat retain moisture during cooking, preventing that dreaded dryness. Don’t overthink it—just dissolve 1 tablespoon of salt in 2 cups of water and let the chicken sit.
No time for a wet brine? Try a dry brine—salt the chicken generously and let it rest uncovered in the fridge for an hour or two. Both methods season the meat deeper than surface seasoning ever could.
Next: pound it.
This step isn’t just for even cooking—it breaks down the fibers in the chicken, making it more tender. Just place your chicken breast between two sheets of parchment and give it a few firm taps with a meat mallet or rolling pin. Don’t skip this step in your fried chicken breast recipe—it’s a juicy move that pays off.
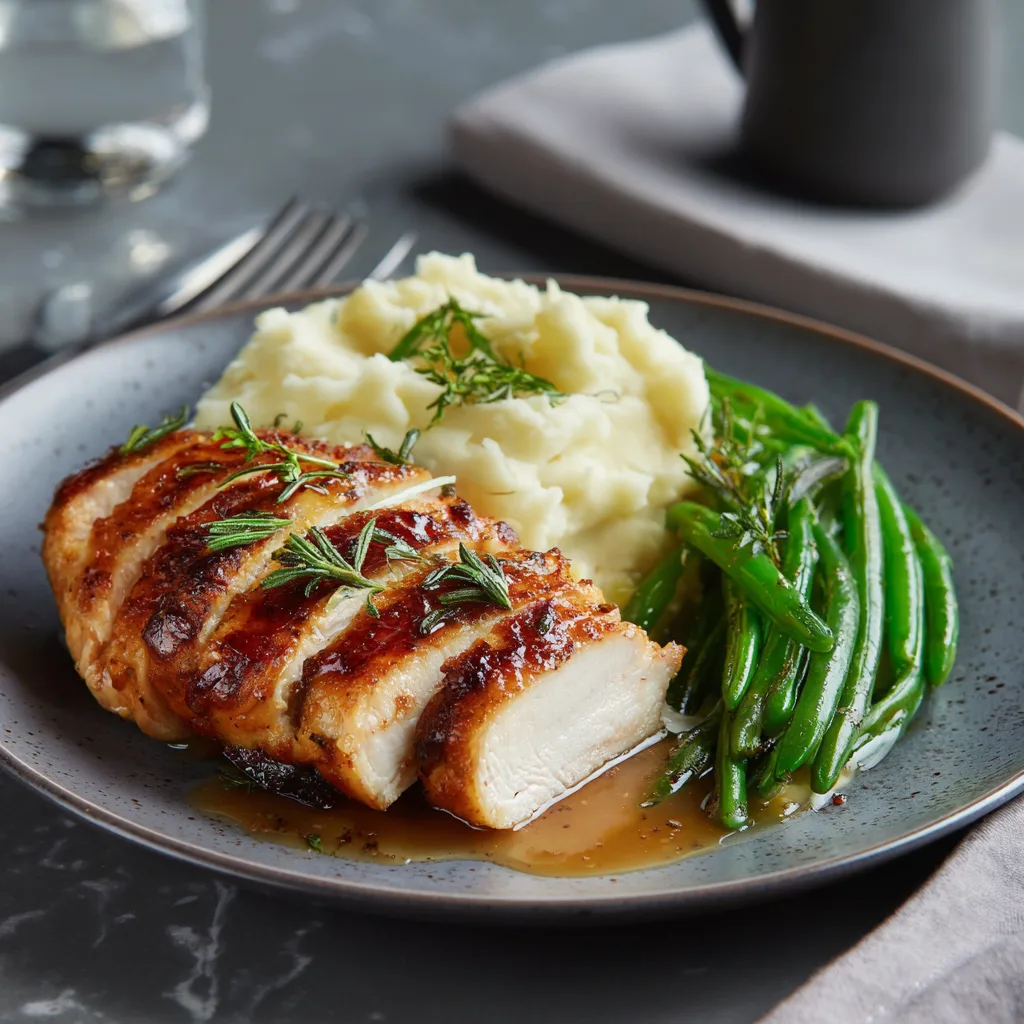
Rest, Then Slice
After frying, don’t slice too soon. Let the chicken rest on a wire rack for 5–7 minutes. This allows the juices to redistribute evenly instead of running out onto your cutting board.
Want more chicken dinner ideas that deliver on flavor and comfort? You’ll love our juicy baked honey BBQ chicken thighs—a sweet-and-savory win for any weeknight.
And if you’ve got extra chicken, turn it into a new meal with this easy chicken fried rice—it’s better than takeout and perfect for leftovers.
Juicy, flavorful, and golden—now that’s how you do fried chicken breast right.
Delicious Variations to Try
Make Your Fried Chicken Breast Recipe Fit Your Flavor Mood
The best thing about a solid fried chicken breast recipe? It’s the perfect base for endless variations. Whether you like it spicy, tangy, crispy without gluten, or lighter with an air fryer twist—this recipe has room to flex. Once you nail the core method, customizing becomes fun, not frustrating.
Let’s explore a few crave-worthy spins.
Spicy Fried Chicken Breast
Craving heat? Add ½ to 1 teaspoon cayenne pepper to your flour blend. Want more fire? Mix a spicy hot sauce like Frank’s or Cholula into your egg wash. Finish with a dash of chili flakes right after frying. It gives that warm kick without overwhelming the juiciness.
Buttermilk Fried Chicken Breast
This Southern-style twist upgrades your fried chicken breast recipe by soaking the meat in buttermilk for a few hours—or even overnight. Buttermilk tenderizes the meat and adds subtle tang. Add garlic powder, smoked paprika, and a pinch of sugar to the soak for extra depth.
You’ll love this if you’re already a fan of crispy buttermilk chicken recipes. That tangy crust is hard to beat.
Gluten-Free Fried Chicken Breast
Yes, you can still enjoy fried chicken if you’re avoiding gluten. Swap the flour for a mix of rice flour + cornstarch or use crushed gluten-free cornflakes for texture. Make sure your seasoning blend is gluten-free too. The crunch still delivers.
Air Fryer Alternative
Looking for a lighter option with less oil? Follow the same breading method, but spritz the chicken with oil and cook at 380°F for 10–12 minutes in your air fryer, flipping halfway. You’ll get a surprisingly crispy exterior with no pan full of oil.
Want more air fryer wins? Try our crispy air fryer chicken mozzarella wraps for a melty, satisfying meal with less mess.
Common Mistakes to Avoid
Don’t Let These Mistakes Ruin Your Fried Chicken Breast Recipe
Even with a great fried chicken breast recipe, small missteps can ruin the crunch or dry out the center. Don’t worry—we’ve all been there. Let’s walk through the most common frying mistakes and how to fix them fast.
1. Using Cold Chicken
Pulling chicken straight from the fridge and into hot oil? That’s a recipe for disaster. Cold meat lowers the oil temperature and cooks unevenly. Always let your chicken rest at room temp for 20–30 minutes before frying. This helps it cook evenly and crisp beautifully.
2. Skipping the Rest Time After Breading
Rushing from dredging to frying? That’s how your breading falls off in the oil. After coating the chicken, let it rest on a rack for 10–15 minutes. This step locks in the coating and helps it adhere through frying.
3. Overcrowding the Pan
If you cram in too many pieces at once, the oil temperature drops—and that equals soggy crust. Fry in batches with space between each piece. If you’re cooking for a crowd, keep finished pieces warm in the oven on low heat (around 250°F).
4. Wrong Oil Temperature
One of the biggest issues with any fried chicken breast recipe is not monitoring oil temp. Too low = greasy. Too high = burnt crust and raw inside. Stick with 350–365°F and use a thermometer.
5. Cutting Too Soon
You’ve nailed the crust, it smells amazing, and you’re ready to dive in—but wait. Let the chicken rest at least 5 minutes before cutting. This prevents juices from escaping and keeps the center moist.
For more tips on how to avoid dry chicken, check out our crispy tender bites with dip—proof that juicy chicken is all about smart timing and temp control.
And when you’re ready to repurpose leftovers, our chicken fried rice is your go-to fix that doesn’t taste like “leftovers.”
FAQs about fried chicken breast recipe
What is the best way to fry chicken breast?
The best way to fry chicken breast is by pounding it to an even thickness, coating it in seasoned flour and egg, and frying in ½ inch of hot oil at 350–365°F. Use a heavy skillet, such as cast iron, and flip the chicken only once. Cook until the internal temperature reaches 165°F and let it rest for 5 minutes before slicing.
For an even easier method with less mess, try this air fryer parmesan crusted version that delivers great results with minimal oil.
How long should I fry chicken breast pieces?
Fry chicken breast pieces for 3–5 minutes per side, depending on their thickness. Thin cutlets (½ inch) take about 6 minutes total, while thicker pieces may need 8–12 minutes. Always check for doneness with a meat thermometer—the center should read 165°F.
What’s the secret to good fried chicken?
The secret to good fried chicken is in three things:
Even thickness – pound the chicken for consistent cooking
Resting time – after breading, let it rest so the coating sticks
Oil temperature control – keep it steady between 350–365°F
Bonus: Soaking the chicken in buttermilk or dry brining it adds major flavor and tenderness.
For a flavorful spin, check out our sweet-savory honey BBQ chicken—different method, same juiciness focus.
What goes first, egg or flour for fried chicken?
Flour comes first, then egg. Here’s the typical breading order:
Light coat of flour (helps egg stick)
Dip in beaten egg (helps flour coating stick)
Final dredge in seasoned flour (forms crispy outer layer)
Letting the breaded chicken rest before frying ensures the coating won’t fall off in the pan.
You might also like these recipes
Cilantro Lime Shrimp Bowl – Easy Shrimp Recipe for a Healthy Weeknight Dinner
Steak Burrito Bowl with Cilantro Lime Rice – The Ultimate Healthy Mexican Dinner
One-Pan Honey Garlic Chicken and Broccoli (Healthy & Fast Dinner)